


GINGERBREAD HOUSE
Gingerbread houses built from scratch, structurally, and every bit of it edible.
Her designs


Online class
Professional edible houses with Santa and Mrs. Claus
Filmed once, start to finish. Watch it as often as you like for 7 days after you buy, while you bake, harden, build, dry, decorate and finish.
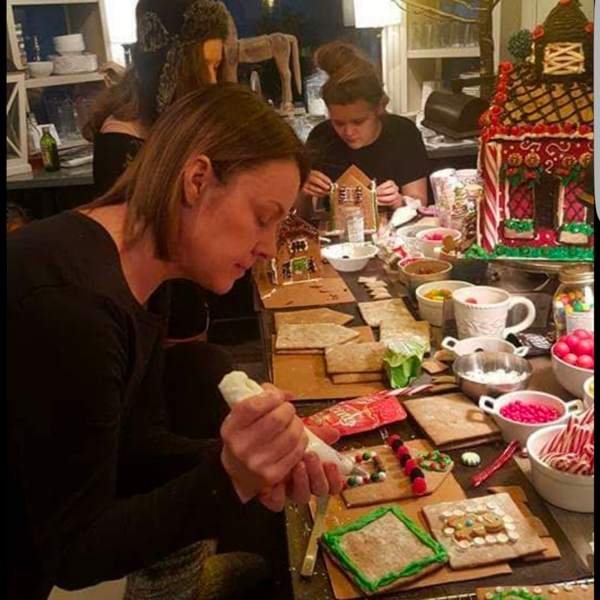
Mrs. Claus Kitchen recipes
Royal icing, and how she keeps it
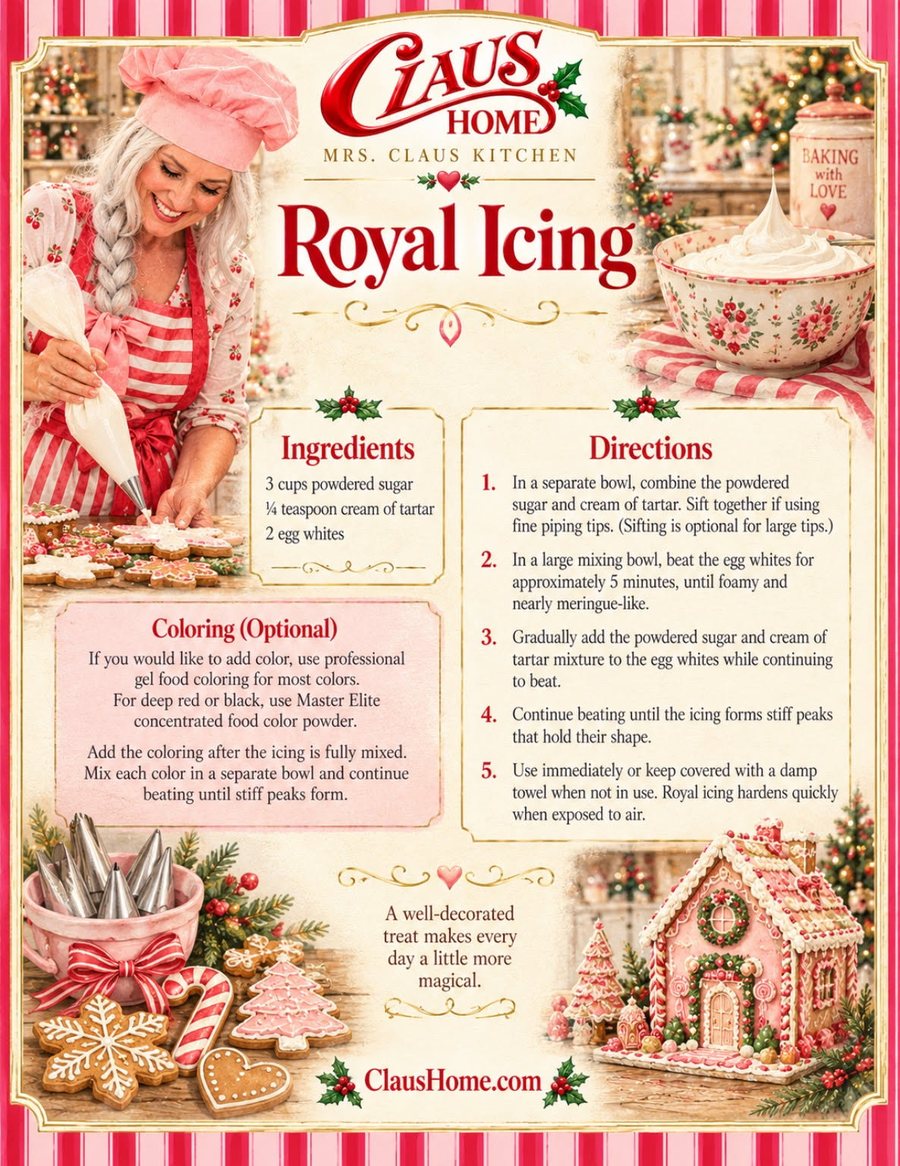
Royal Icing, as text
Ingredients: 3 cups powdered sugar, 1/4 teaspoon cream of tartar, 2 egg whites.
- In a separate bowl, combine the powdered sugar and cream of tartar. Sift together if using fine piping tips. (Sifting is optional for large tips.)
- In a large mixing bowl, beat the egg whites for approximately 5 minutes, until foamy and nearly meringue-like.
- Gradually add the powdered sugar and cream of tartar mixture to the egg whites while continuing to beat.
- Continue beating until the icing forms stiff peaks that hold their shape.
- Use immediately or keep covered with a damp towel when not in use. Royal icing hardens quickly when exposed to air.
Coloring (optional): If you would like to add color, use professional gel food coloring for most colors. For deep red or black, use Master Elite concentrated food color powder. Add the coloring after the icing is fully mixed. Mix each color in a separate bowl and continue beating until stiff peaks form.
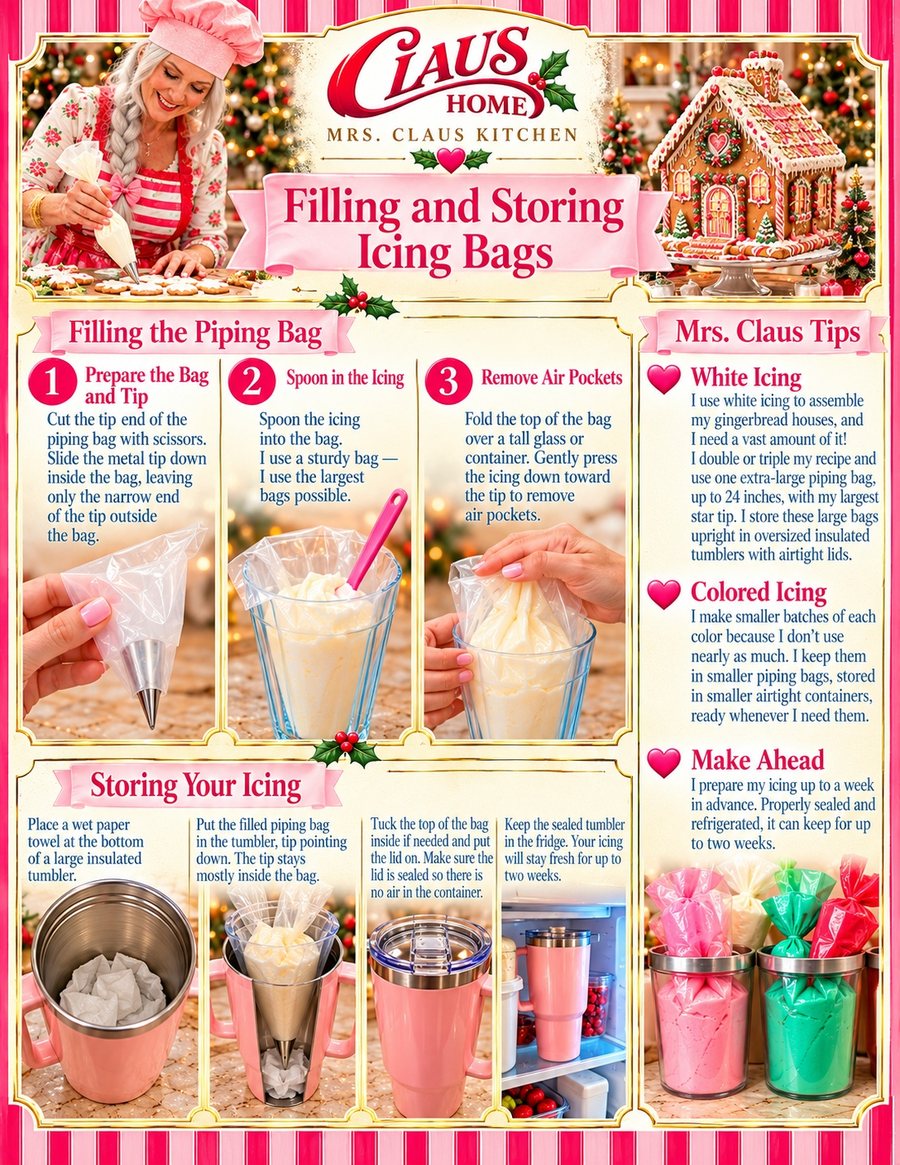
Filling and storing icing bags, as text
- Prepare the bag and tip. Cut the tip end of the piping bag with scissors. Slide the metal tip down inside the bag, leaving only the narrow end of the tip outside the bag.
- Spoon in the icing. Spoon the icing into the bag. I use a sturdy bag, I use the largest bags possible.
- Remove air pockets. Fold the top of the bag over a tall glass or container. Gently press the icing down toward the tip to remove air pockets.
Storing your icing: Place a wet paper towel at the bottom of a large insulated tumbler. Put the filled piping bag in the tumbler, tip pointing down. The tip stays mostly inside the bag. Tuck the top of the bag inside if needed and put the lid on. Make sure the lid is sealed so there is no air in the container. Keep the sealed tumbler in the fridge. Your icing will stay fresh for up to two weeks.
White icing: I use white icing to assemble my gingerbread houses, and I need a vast amount of it! I double or triple my recipe and use one extra-large piping bag, up to 24 inches, with my largest star tip. I store these large bags upright in oversized insulated tumblers with airtight lids.
Colored icing: I make smaller batches of each color because I don't use nearly as much. I keep them in smaller piping bags, stored in smaller airtight containers, ready whenever I need them.
Make ahead: I prepare my icing up to a week in advance. Properly sealed and refrigerated, it can keep for up to two weeks.
More of her gingerbread recipes are coming.
The patterns
Gingerbread recipe and frosting recipe included with every pattern.
Makes several small houses, great for a cousin competition (adults included). Comes with a Large Gingerbread Man pattern and a recipe that actually tastes good.
One pattern, converts between home, barn and church. Comes with options.
Our X Large house or stable, 3 times the size of the Large, with a vestibule.
New. Coming soon.
Photos of all four patterns are coming from Mrs. Claus.
How the big patterns print
The pieces are bigger than a sheet of paper, so each one comes as numbered letter-size pages. Print them, lay them in order, tape them together, then trace onto poster board.
- Print at 100%, never "fit to page".
- Measure the 1-inch test square on page 1. If it is not exactly 1 inch, check your printer setting.
- Line up the corner marks, tape the pages, and trace onto poster board.
Letters from the North Pole
Join the family list
Recipes, stories, live dates and new patterns, by email. If a social account ever disappears, this list does not.